Active Directory - Administrative Centre
Now we have our structure we can look at other ways to maintain our users. The AD Administrative Centre is a useful addition since Server 2012 release to help maintain users with some useful new features to those available in Users and Computers snap in.
1. Start the AMS-DC1 virtual machine if not already started.
2. Login with the credentials canon\administrator and password "supplied by your trainer".
3. Open the Active Directory Administrative Center from the Tools menu in the Server Manager.
4. Select the canon(local) domain to access the OU structure and User Accounts.

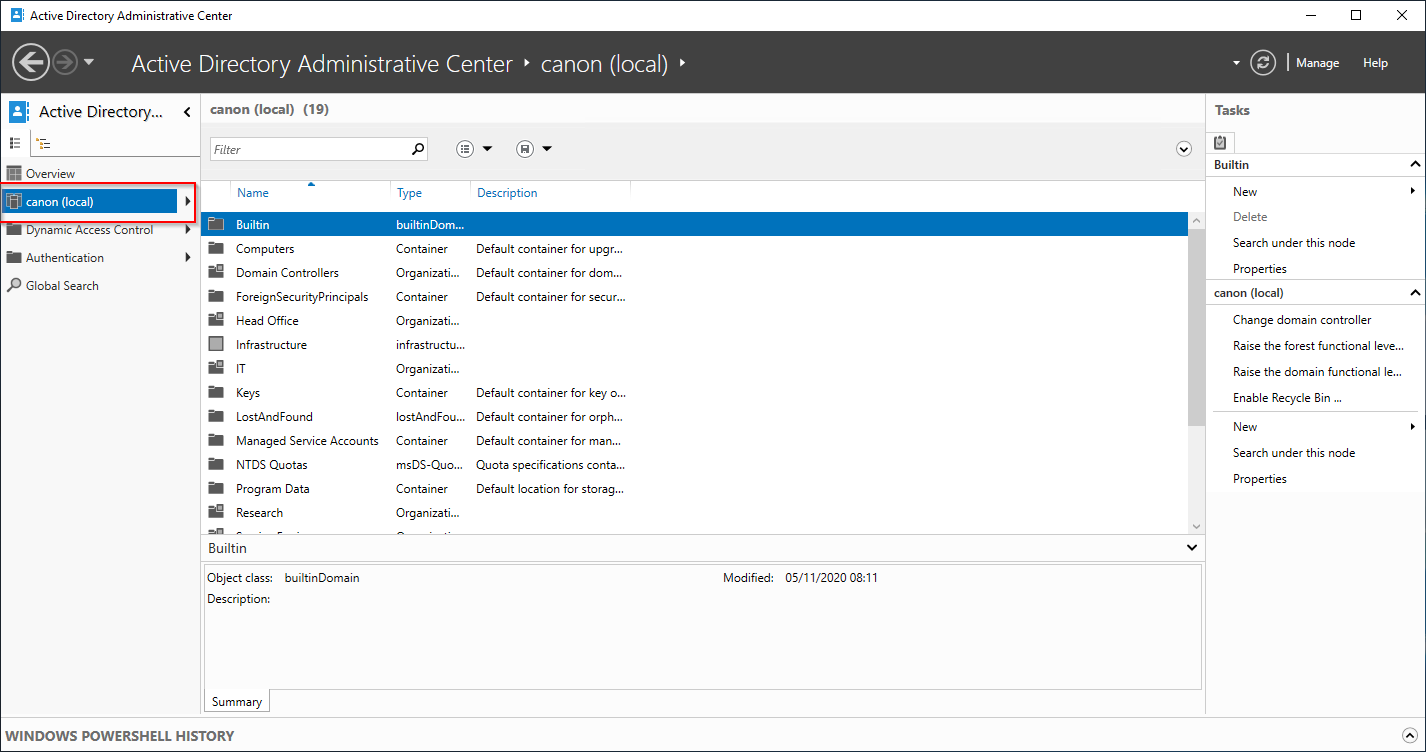
5. One new feature that was not available in AD Users and Computers is the AD Recycle Bin. Find where and enable it in Administrative Center now. Your instructor will explain the uses of the recycle bin.
6. Delete to Site office OU . What happens. Select Yes then Yes. (Remember the accidental delete flag?) If you attempt delete the OU in Users and Computers it will also not allow its removal without the uncheck of the delete flag. Try it if you want. If you ticked subtree server control you now have a problem. (Try to revover it later in the excersise or request assistance from your trainer).
7. User passwords can be reset using the Administrative Center. This is a useful easy way to unlock or maintain a locked account. Open a user and have a look at the options. Find where to reset the user password. Hint: There are 2 places you can reset from find both.
NOTE: Dont now reset or change any passwords just find out where you can.
8. New users can also be created in the Administrative Center.
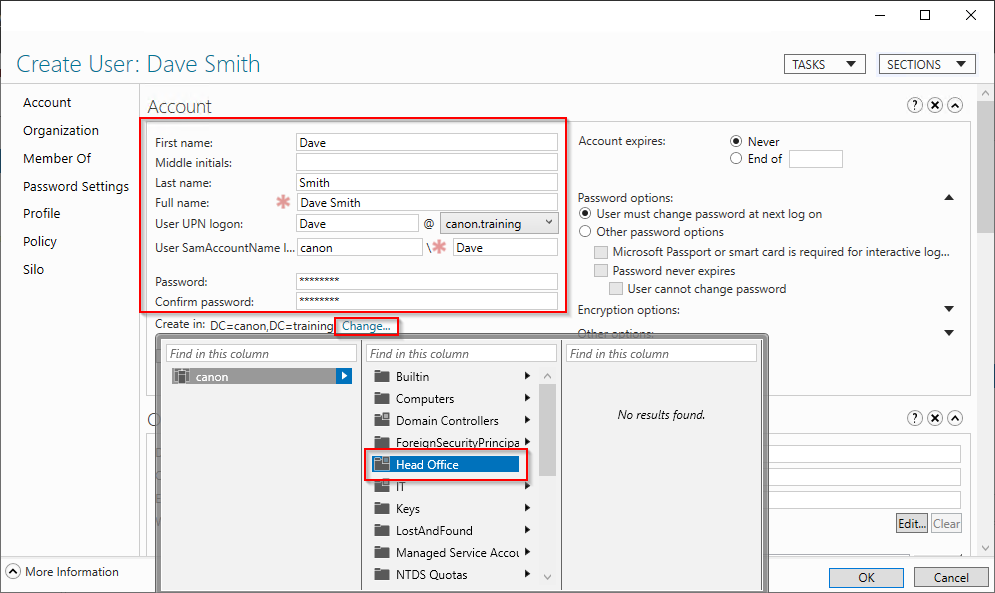
Try it yourself.
9. Ensure you select an OU from the Create in options, also look at the logon options for hours and computers. Create a user of your choice with the password Canon-01 for simplicity.
10. Find the check box to enable the "protect from accidental deleation" for both a user and an OU. You will need to remove the tick in order to carry out some tasks later. Find out for yourselves what restrictions the "protect from accidental deleation" switch creates.
11. Work out how to move your new user to the Site Office location OU. You will start with access denied work out how to carry out the task with what you have learned.
12. Delete a user.
13. Recover the user from the "Deleted Objects" Container. If you did not enable the recycle bin you have a big problem. Ask your trainer about Tombstone Reanimation but you will not recover the user / OU today.
For the purpose of a group discussion:
What makes Administrative Center better or worse for user account administration than the snap in?
Join a Windows 10 PC or Device to a Domain
1. On the Windows 10 PC go open the Control Panel.
2. Select System and Security then System then scroll down to “advanced system settings” then under the name tab select the domain radio button.


3. Select “Change”.
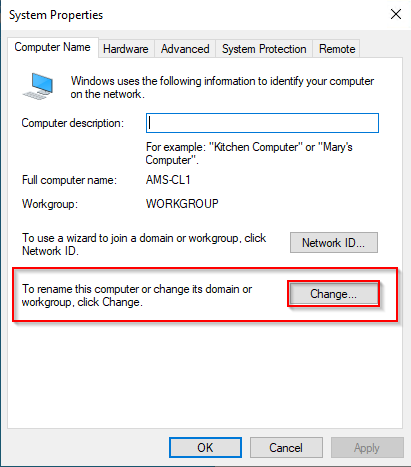
4. Enter the Domain name and click OK.
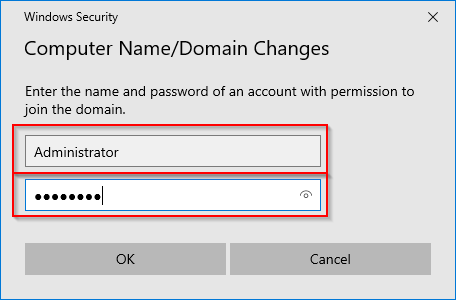
5. Enter account information for a domain administrator account which is used to authenticate the user to be able to allow the new computer to join the domain. In this exercise we use “your user” and “Canon-01” unless you selected your own password.
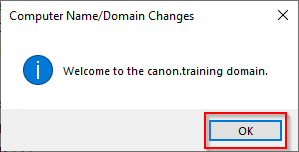
6. Click OK. Wait while your computer is authenticated on the Domain.
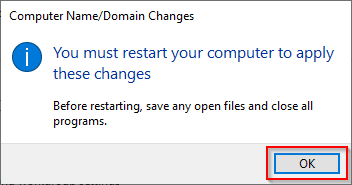
7. A restart will be required to complete the join. Perform the restart.
8. Login to the Client as canon\(your username) using the password you selected.
Install Windows Admin Center
In this excersise you will install the Admin Center on your client PC and then use it to remote administer your domain controller. The setup file "WindowsAdminCenter2211" is located in the location c:\training\Module3 on the AMS-CL1 machine.
1. Login to the AMS-CL1 using your account.
2. Install the admin center. Accept licence terms an then use all default setttings during install. (This can take up to 5 minutes if you want a coffee go now).
3. Select the "open admin center now" from the check box and complete the install.
4. Complete the setup of MS Edge selecting no to all questions asked.
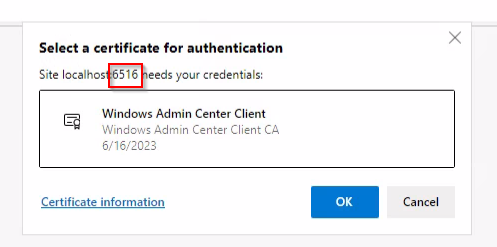
5. Highlight the certificate before you can select OK, and note the port number was the one shown in the setup.
6. Look at the options available for the local PC - AMS CL1 by clicking the link on the main panel.

Notice that you can access the local machine with some admin tools, you can also add more Servers or Clients to monitor, all from the single location.
7. Find out how to add another computer to the console.
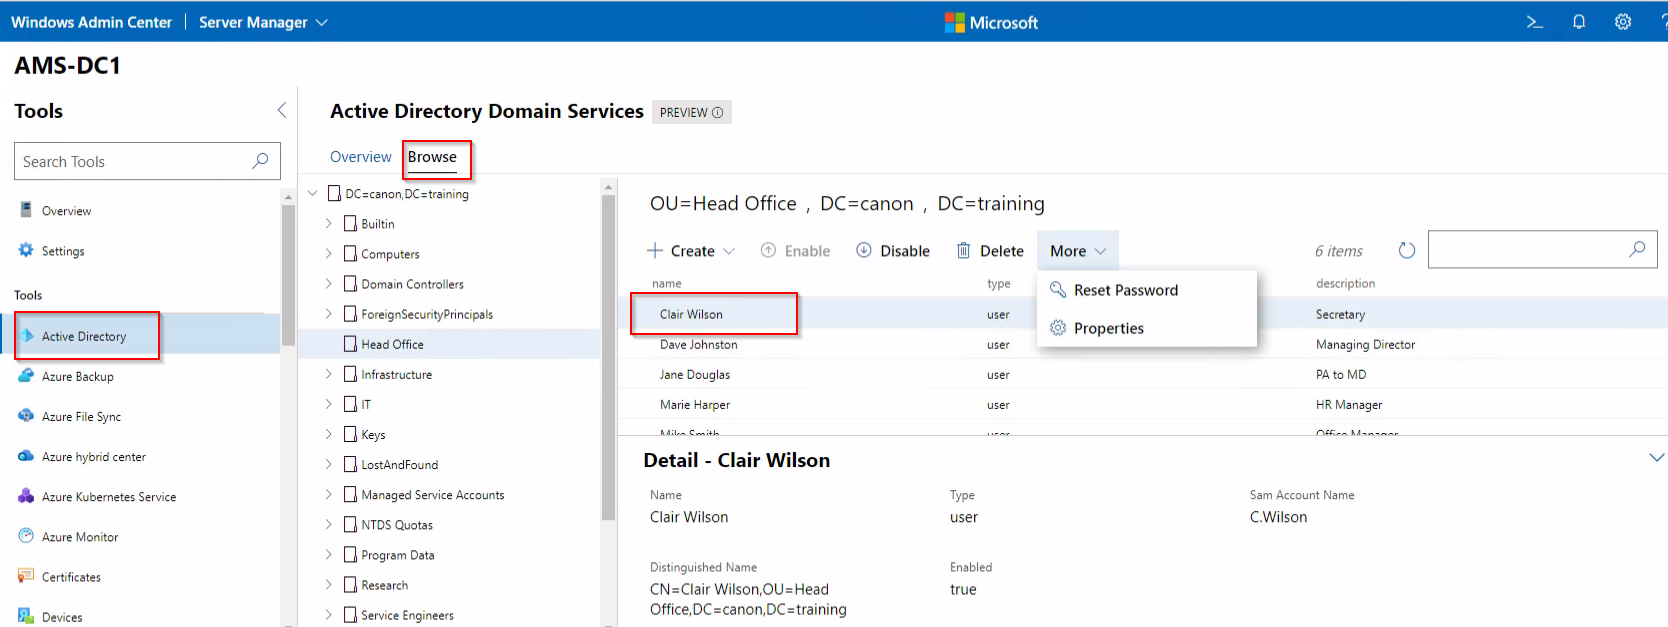
8. Add AMS-DC1 and look at the options available for managing the DC from the client. Notice you are unable to see Domain users only local accounts.
9. Navigate to the Settings > Extensions screen. Under the Available extensions, you will see the Active Directory listed. Highlight it, and then click the Install button.
10. Check in the notifications until you see the extension has installed. Some others will also update during this process.
Now you have Active Directory you can manage the users and many other useful tools.
This is a nice step towards using the MS Azure Portal.
11. More about remote management will be available in Module 4 Due H2 2023.
 |