DHCP – Lab – Part1 Install the DHCP service.
This lab will give you the opportunity to setup a DHCP server and then configure it. The expected outcome of the lab, you will fully understand the concept of DHCP and how it can be used for connecting network nodes together.
You will also discuss the features of DHCP with Canon devices. Due to physical network restrictions you will not be able to connect a Canon device to your DHCP server in the virtual classroom.
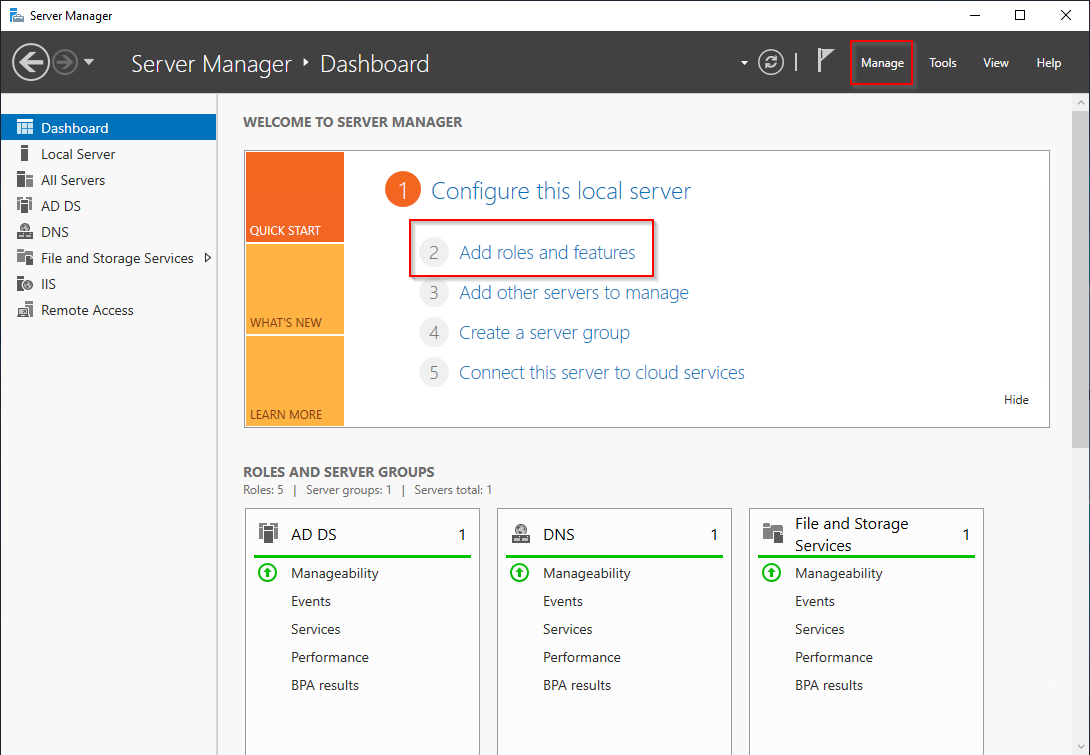
1. Install the DHCP service. This is done from server manager. (MS Server)
2. Select option 2 from the dashboard. This will open the “add features and roles wizard”. There are other ways to add a new service to a server using the Manage menu. If you feel more confident using another then please do so.

3. You may want to select the “Skip this page” option. Select "next" on the welcome instructions screen.
4. Select “Role based installation”
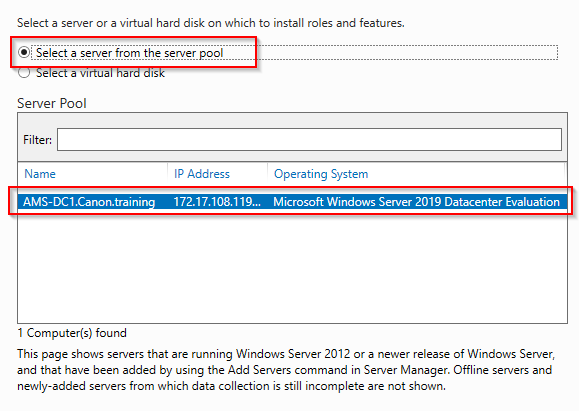
5. Select the server you wish to install the DHCP service onto. Only a single server will be available in the lab. Click Next.
6. Select the DHCP Server from the list and add any associated features.
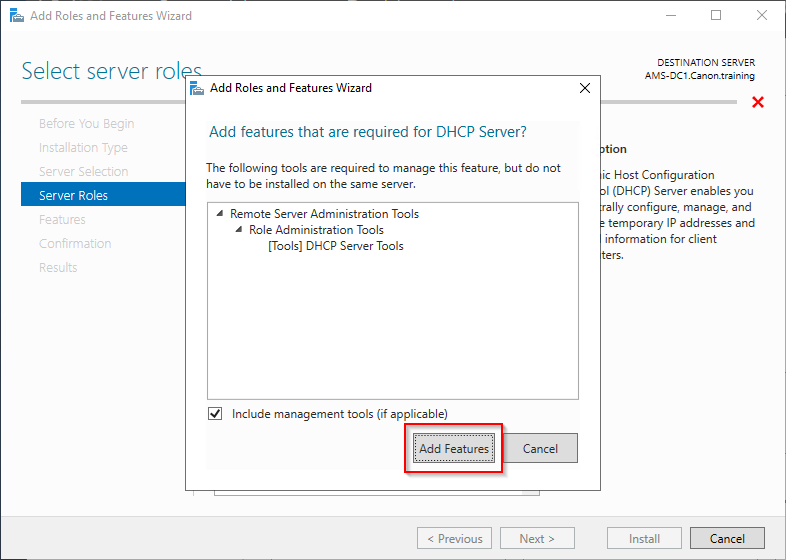
7. Select “Next” and then “Next” again on the features page.
NOTE: The Dynamic Host Configuration Protocol allows servers to assign, or lease, IP addresses to computers and other devices that are enabled as DHCP clients.
Deploying a DHCP server on the network provides computers and other TCP/IP-based network devices with valid IP addresses and the additional configuration parameters these devices need, called DHCP options. This allows computers and devices to connect to other network resources, such as DNS servers, and routers.
Things to note:
You should configure at least one static IP address on this computer. (Completed is previous task)
Before install DHCP Server, you should plan your subnets, scopes and exclusions. Store the plan in a safe place for later reference. (details will be provided in this course)
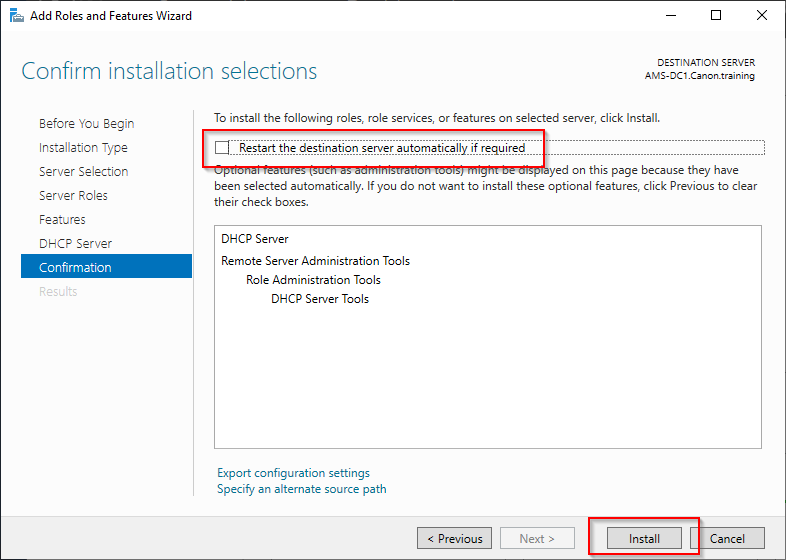
8. Select “Next” again. Select the restart automatically if required option and the select install.
9. Close the window after install complete, Restart the server if you missed the auto option. After the restart the service will be installed. In part 2 will be to configure the DHCP service.
DHCP – Lab – Part 2 Configure DHCP
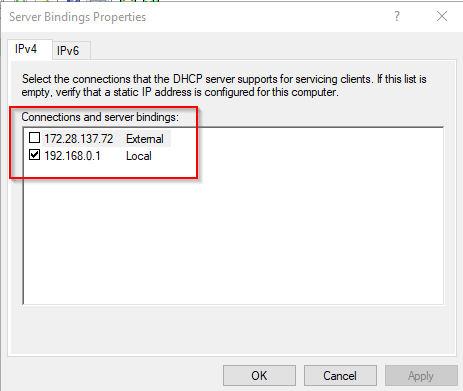
Before you finish the configutation of the DHCP server it is important to ensure the service is only made available on the local network. This is done by editing the bindings and selecting the correct NIC to use for the service.
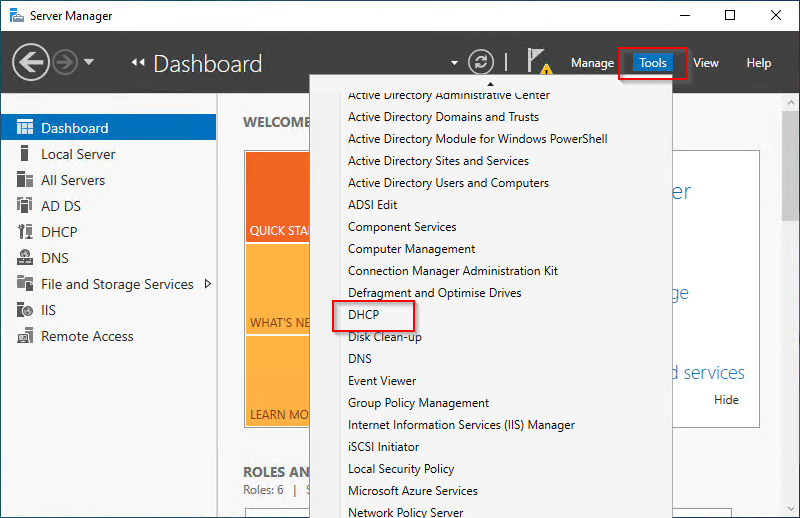
1. From server manager > tools select DHCP. This will open the DHCP snapin.
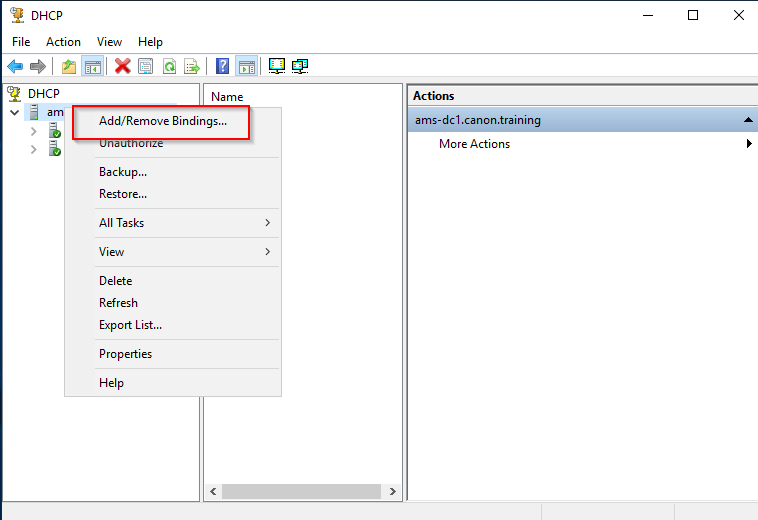
2. Right click the host name and select Add/Remove Bindings.
3. Untick the external NIC to disable it.

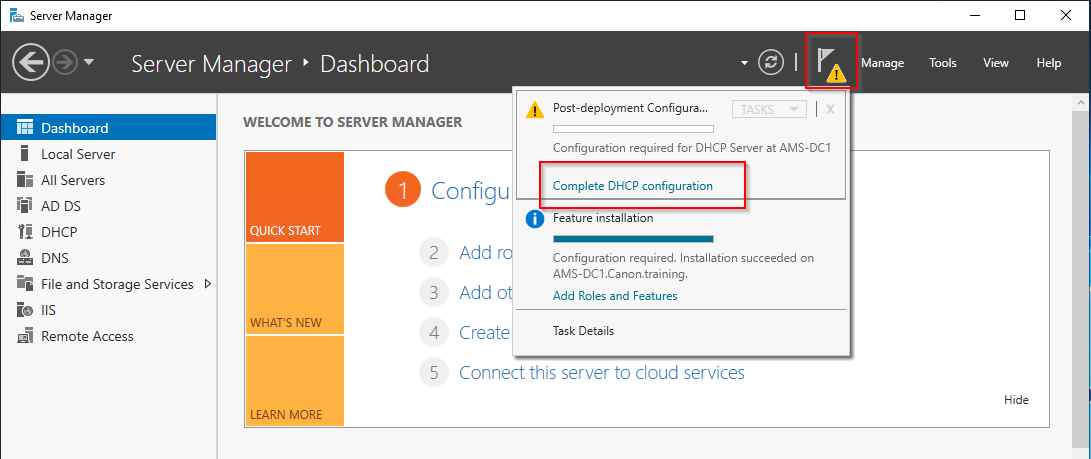
4. Select the yellow mark by the Notifications Flag on the server manager.
5, Select “Complete DHCP Configuration”
6. Select “Next” and then “Commit"
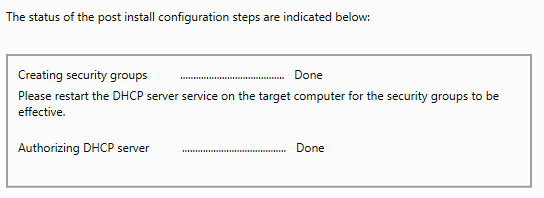
7. “Close” the window.
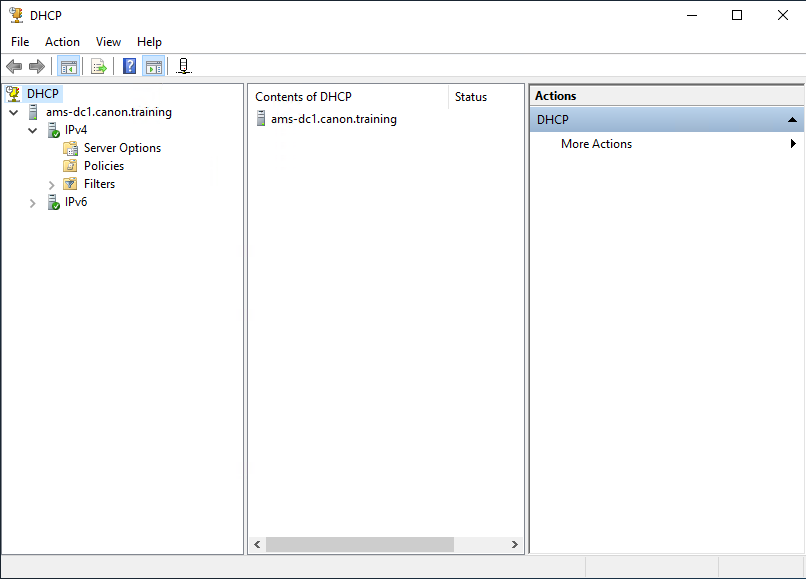
8. From the Tools menu select “DHCP”. This will open the DHCP console snap in.
9. The DHCP snap in will allow you to configure and edit the DHCP setting for the DHCP service. You may need to expand the tree structure to view all settings.
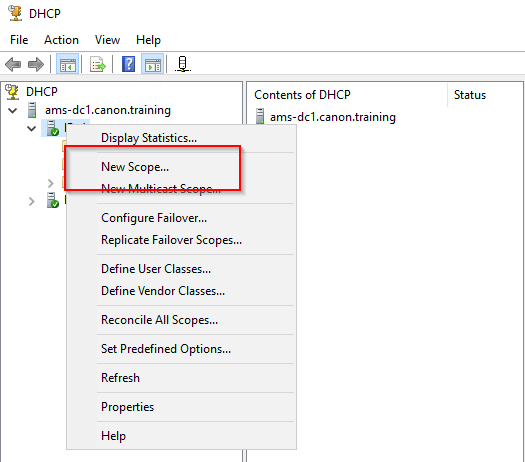
10. Setup a new scope. The scope will include all the addresses you will use within the network you are administering DHCP for. Right click the IPv4 tree and select “New Scope”.
11. The new scope wizard will open, select next.
12. Make a name for your scope. Names should make sense to anyone using the DHCP snap in.
13. Click Next.
NOTE: Multiple scopes and splitting a scope over multiple servers are possible but not for this module. The Advanced Networking module will cover these subjects.

14. Enter the first and last addresses in your scope.
Start: 192.168.0.10
End: 192.168.0.100
NOTE: The subnet will be selected automatically although you can make changes to the subnet if needed. Notice the relationship between the length and the mask. Remember the CIDR notation from the sub-netting section.
Example. An address within this scope could be written: 192.168.0.50/24
15. Next you will Add an exclusion range. This range can be anywhere within the scope and will contain addresses not to be allocated using DHCP.
For this section please use the range 192.168.0.1 – 192.168.0.10
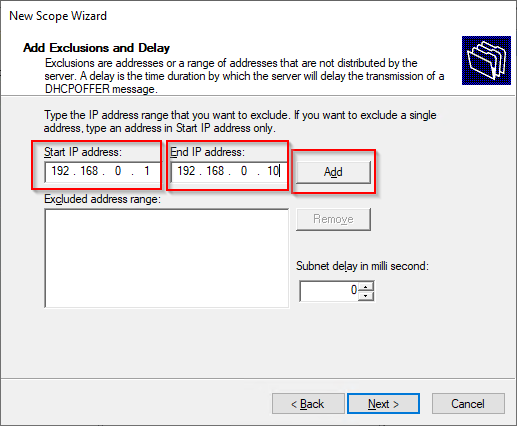
NOTE: later you will allocate one of these addresses to a specific node.
16. Click Next. Leave the lease time at 8 hours, select Next.
17. Configure DHCP options. Select “Yes" I want to "Now” and Next.
18. Default Gateway. Here you can select the gateway address for all the nodes served addresses via DHCP.
NOTE: The gateway is the address of the router to leave the current network. In our case AMS-DC1 as it is running a NAT routing service giving access to the internet.
19. Select the IP for AMS-DC1 (192.168.0.1), click Add, then select Next.
NOTE: the next task will be about DNS so you will learn more there.
20. DNS is the next configuration. Remember without a valid DNS server there is no address book for the network or the internet. Ensure your server IP address is used as the DNS server.


Note: AMS-DC1 is our DNS server we look at DNS in the next task.
21. Click Next. The final configuration as part of the wizard is to configure the WINS service. This is not part of this training. Configuring WINS is now uncommon. WINS is like DNS for windows computers only. Simply click “Next”
22. Activate the scope now. Click Next
23. Finally, it’s time to activate the scope. Click “Finish”
NOTE: Once activated the server will start allocating addresses.
DO NOT enable a test or training DHCP server on an active/live network.
24. You will now see your scope and its options displayed in the snap in. Check you have no warning symbols showing on the scope. If so, it may simply require a refresh of the view.
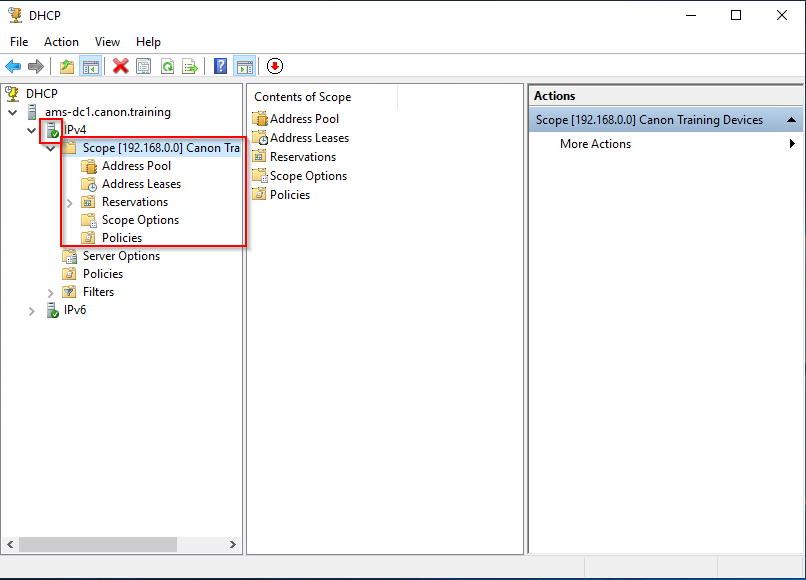
 25. Under Scope Options you will see the options you configured in the create a scope wizard.


DHCP – Lab – Part 3 Test the DHCP service.
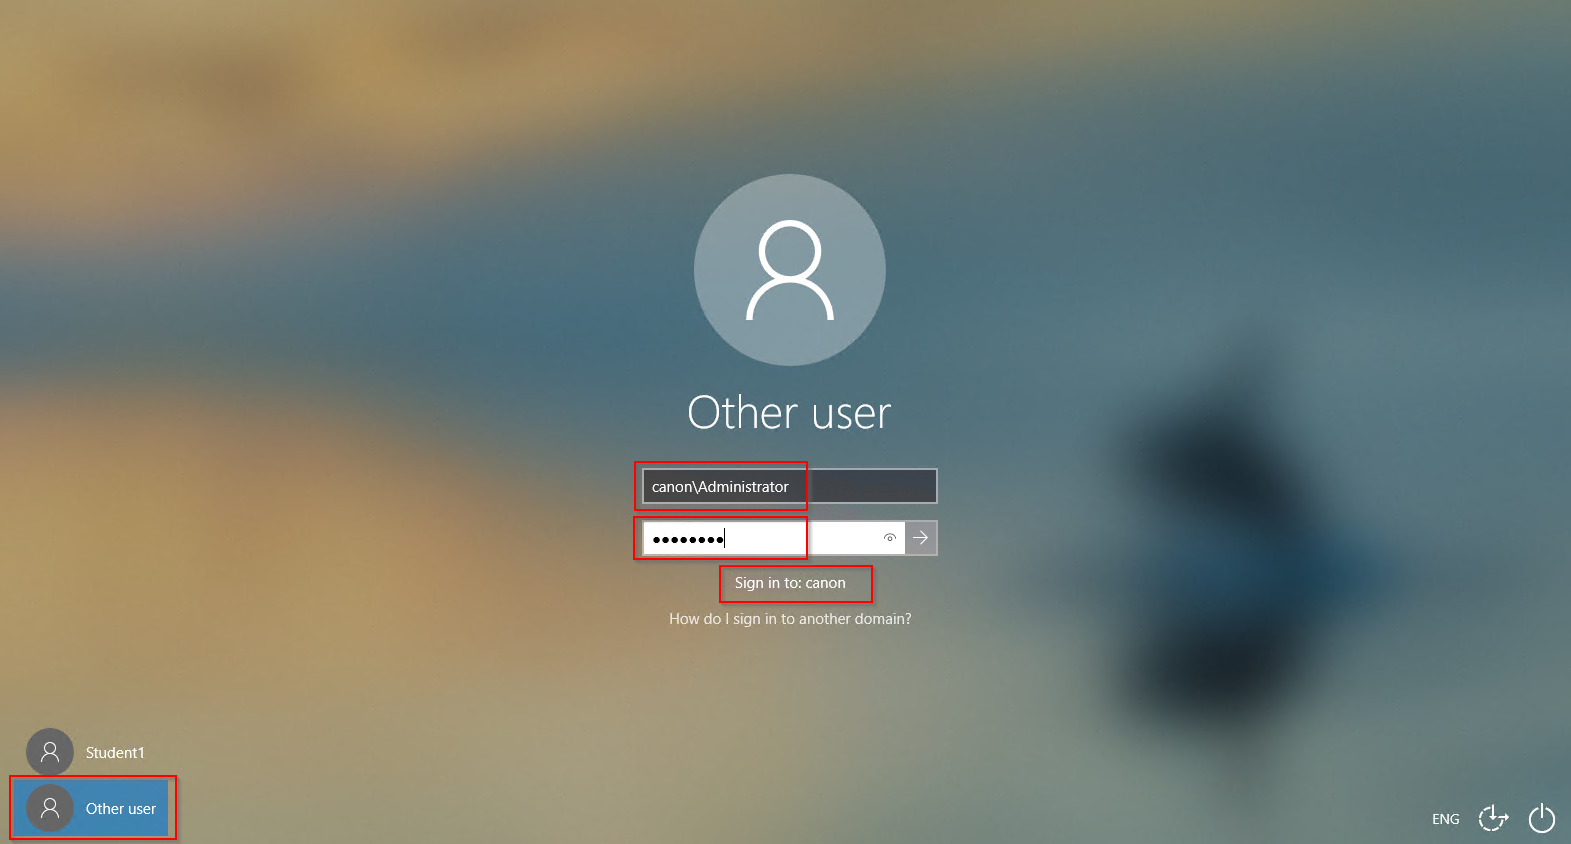
1. Open your Windows client machine. This will be used for testing the DHCP service. Login as domain administrator with the following credentials: canon\administrator.

2. Right click the start button to access the menu and select “Network Connections”. Then “Change adapter options”. You will find you now have permission to edit the network adaptor NIC settings. Right click on Ethertnet adaptor and select Properties.

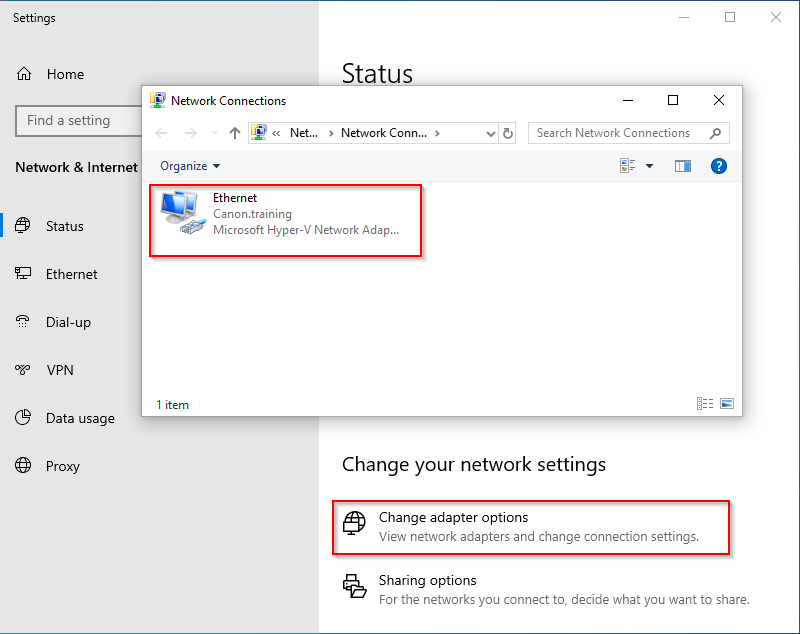
3. From the network connections screen in you will configure the IPv4 connection settings for client machine. Right Click the correct NIC and select properties.
4. Double click “Internet Protocol Version 4 (TCP/IPv4)”
5. Ensure that both obtain IP Address and Obtain DNS are set to automatic. Click OK

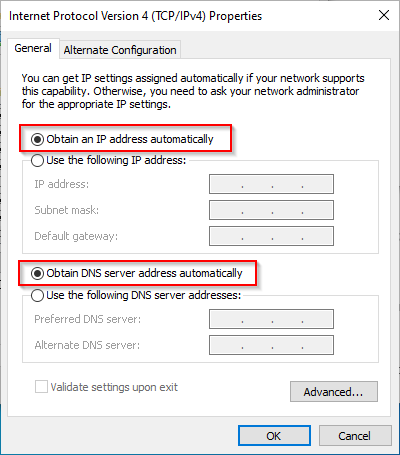
6. Click OK
NOTE: You will be disconnected from your RDP session to the client as IP Adress has changed after pressing OK.
7. Check the Lease: IPv4 > Scope > Adress Leases
8. If everything has been setup correctly you will receive the first free address from the pool.
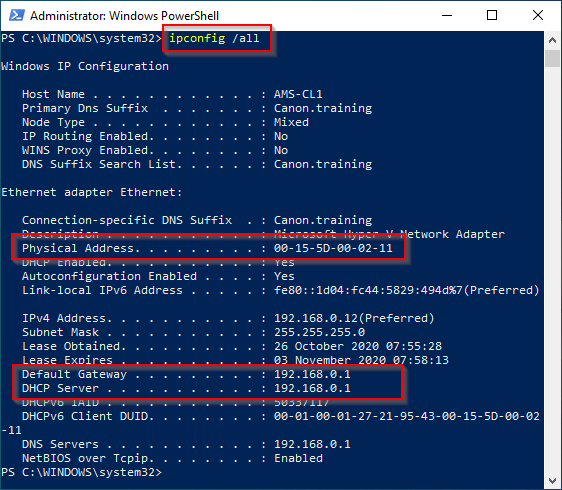
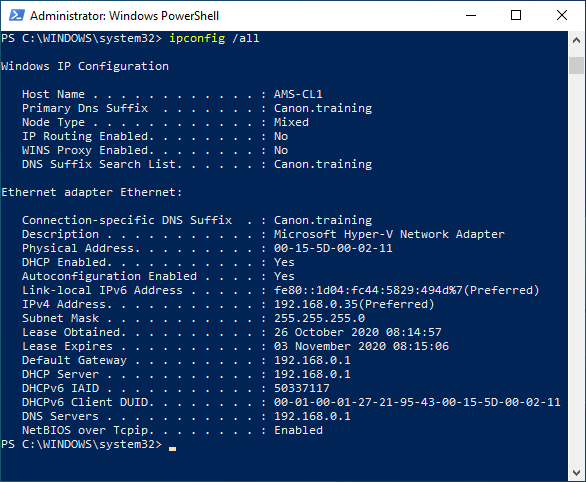
9. Next perform an “ipconfig /all”. Check all the setting you configured are displayed. DNS Gateway etc.
NOTE: The Physical address shown is the MAC address of the NIC.
10. Write down the MAC address for use later. EX. “00-15-5D-00-02-11”
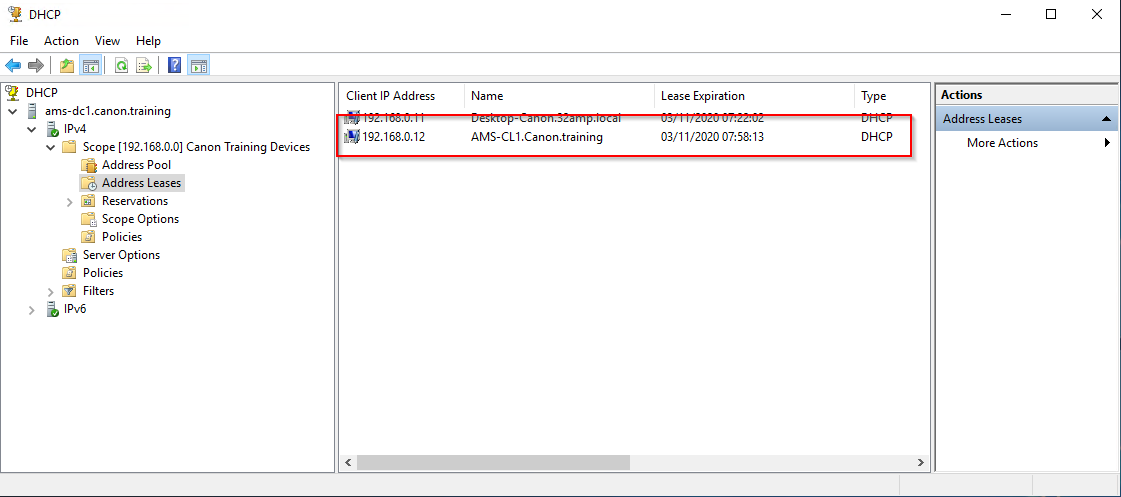
11. Return to the server and the DCHP snap in. Open the IPv4 tree and the scope. Examine the Address Leases where you will find the details of the client. In the training environment you should only see your client allocated via DHCP.

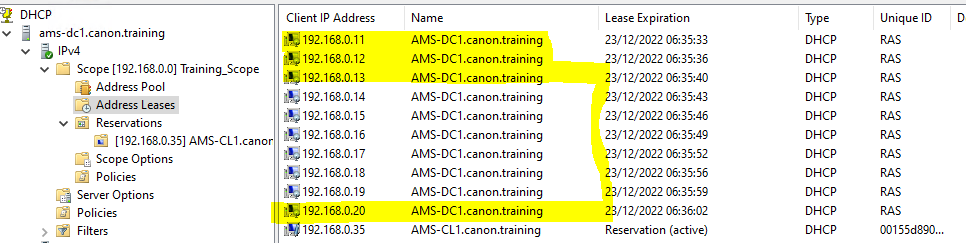
NOTE: You may see the reservations shown below on the DC server in the DHCP address Lease. The addresses are reserved for VPN although we are not using VPN on the router service from Microsoft. RAS the Remote Access Service sets up VPN as default when you install any other routing service. We built the DC to only use NAT between the 2 NICs. The RAS router service (on the DC) will automatically reserve 10 addresses for VPN.
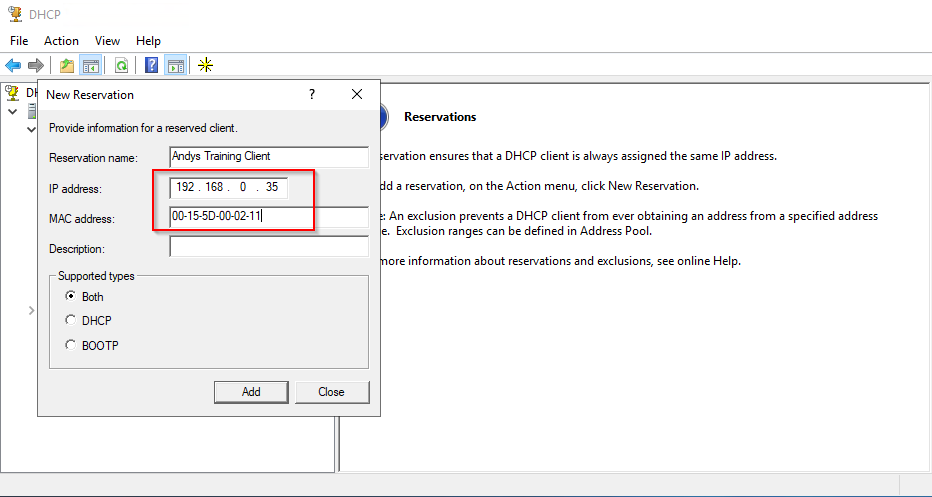
12. Select and right click the Reservations item from the tree view and right click and create a “New Reservation”.
13. Select a new address from the range. Name the reservation. Add the MAC address of your client. Ensure the address is not the same as the initial DHCP allocation. In the screenshot I have chosen 192.168.0.35.
14. Close the reservation window.

15. Return to the client computer and perform a renew if required “ipconfig /renew”

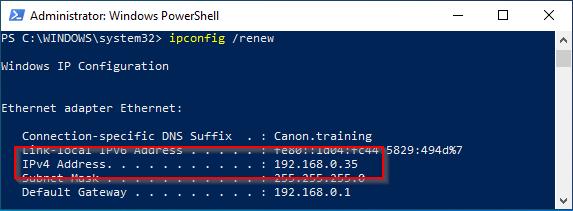
16. Check the new address has been picked up. Using “ipconfig /all”

If you have time remaining have a look at the scope options in the DHCP snap in and see what else, you can configure using DHCP.
DHCP – Lab – Part 4 Test the DHCP service on a Canon printer.
Optional – Trainer lead "Classroom" courses only.
This task will use all the skills you have learned so far in this training module.
- Connect a Canon printer to the training room virtual network.
- Ensure that the DHCP service is running and has a valid scope.
- At the printer enable DHCP and restart the device.
- Check a valid IP has been allocated in the same way as the previous exercise.
- Using the Canon printers MAC address fix the IP in DHCP.
- Restart and check the correct IP settings are now in the device.
CONGRATULATIONS you have now built and tested a DHCP service.
