Welcome to the Network Infrastructure training module.
This is your task guide for this training. Here you will access all the hands on tasks you need to perform during this training. There are two possible setups for this training.
1. Local Virtual Machines in classroom
2. Remote Virtual Classroom
First we will have a look at the layout of this Virtual Classroom. There are 2 virtual machines in this room.
a) Windows Client - This is a Microsoft Windows Client Operating System
b) Windows Server - This is a Microsoft Server operating system you will use to run services and control your test network.
The layout of the network is shown below.
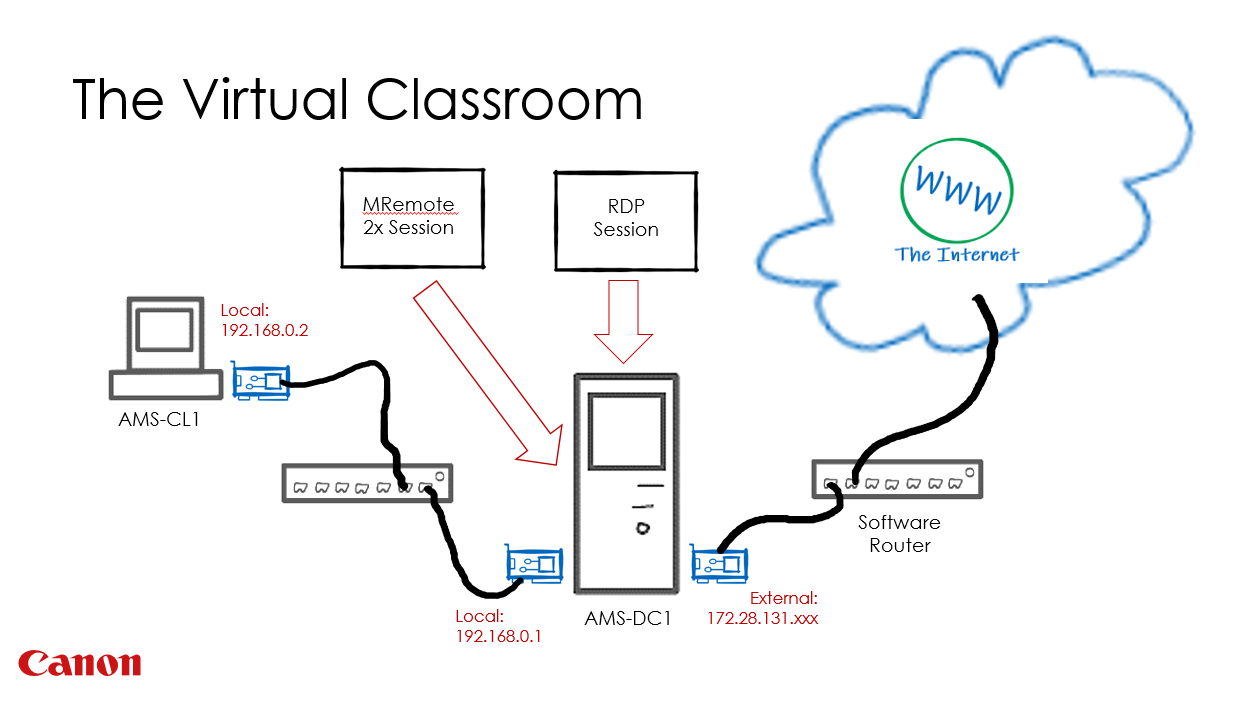
You will have two machines one including a router available in your RDP manager. They are:
1) The Client AMS-CL1 - A windows client operating system. Google Chrome is the preferred browser installed.
2) The server AMS-DC1 - A windows server operating system. The server has a web service enabled. The web service is used to deliver this training package. It also has an FTP service enabled to use during the training. (File Transfer Protocol).
Both machines are a standard out of the box build with only a few features enabled and some selected software installed.
Note: You will build the network infrastructure as part of the training.
User Access to the Virtual Classroom.
Access for users will require a login to a jump host. This is an intermediary machine which allows users to authenticate with Canonintra credentials. The jump host simply provides an RDP connection to Canon Product IT.
To access the jump-host, start an RDP session on your Canon issue laptop/computer then connect using you Canon login details.
1. Connect to “Canonintra” using the CEL profile from the Cisco VPN tool.

NOTE: To access the virtual classrooms, you will first need to connect to “Canonintra” using the CEL profile from the Cisco VPN tool. In some regions you will be able to connect directly from a Canon office, this functionality will become more widespread over time.
2. From the start menu type MSTSC or RDP to access the Remote Desktop Connection
NOTE: Remote Desktop Protocol (RDP) access is granted to the virtual classrooms which are an L&D service that is part of “Canon Product IT”. “Canon product IT” is a domain isolated from Canonintra to protect Canon’s production infrastructure while providing a secure monitored training environment which is governed using less restrictions than production (Canonintra) while providing a minimum level of security.
3. Select the ‘Remote Desktop Connection’ app
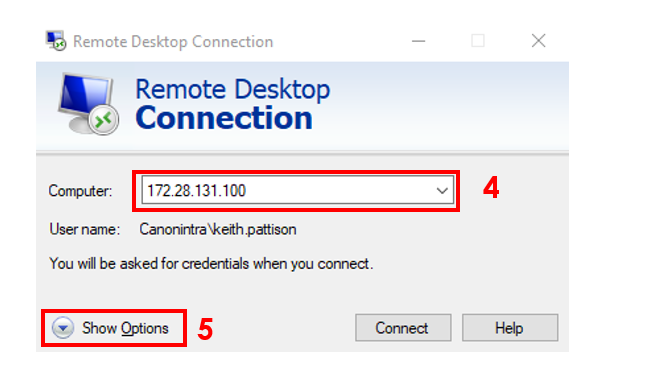
4. Enter the following IP: 172.28.131.100
5. Click the ‘Show Options’
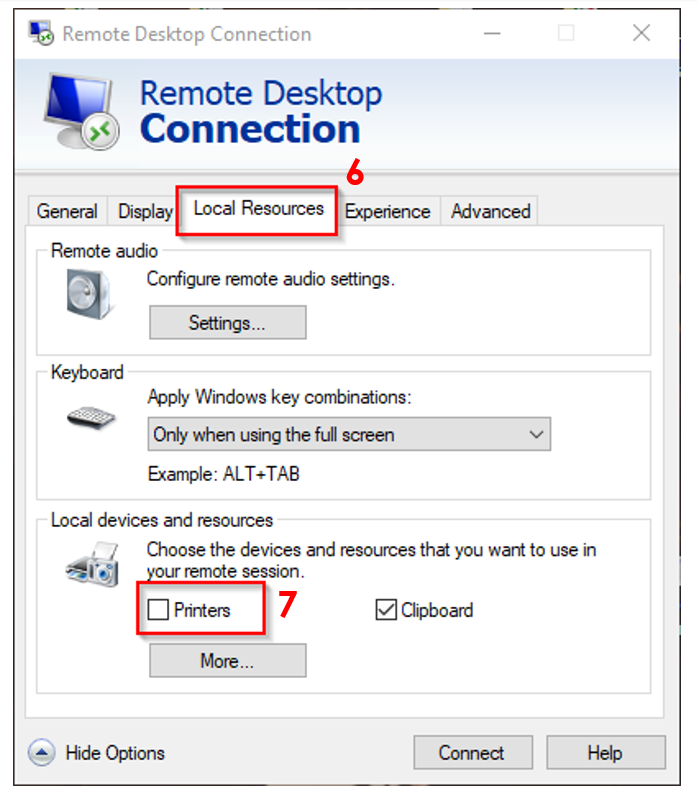
6. Select the “Local Resources” tab and ensure printers is not selected.
7. Disable passthrough (Local devices and resources) for any print devices.
NOTE: Do not attempt to connect any other resources to your remote session.
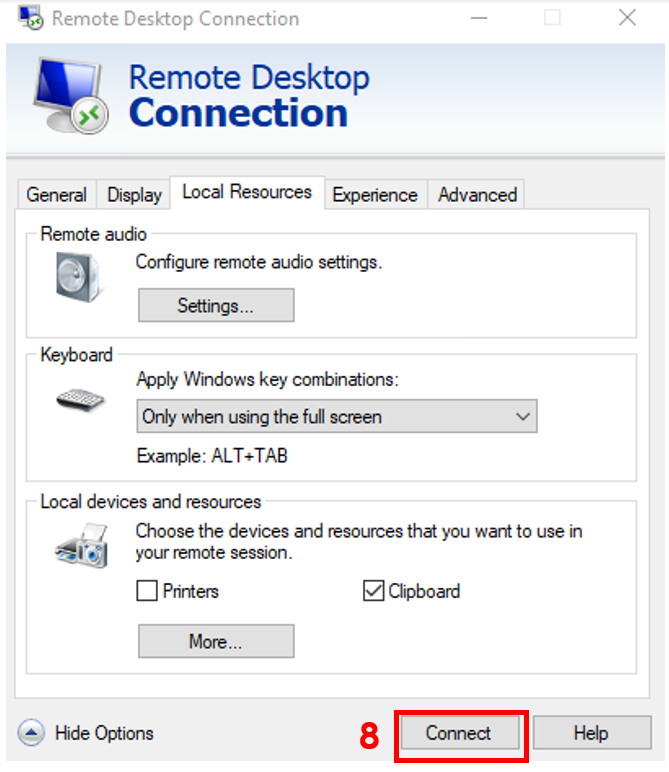
8. Select ‘Connect’
Users will need to accept responsibility for any actions while accessing “Canon Product IT”
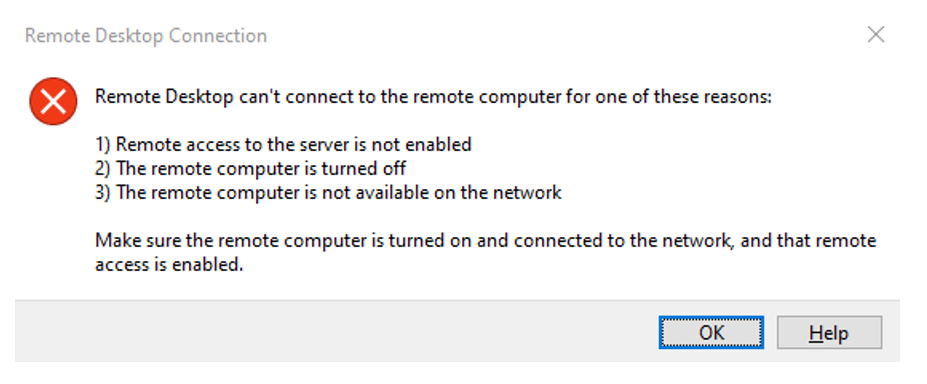
NOTE: When the pop up ‘Remote Desktop Connection, Remote Desktop can’t connect to the remote computer for one of these reasons’ appears, this indicates you need to connect to “Canonintra” using the CEL profile from the Cisco VPN tool.
9. Enter your Canon credentials in the format canonintra\*username*
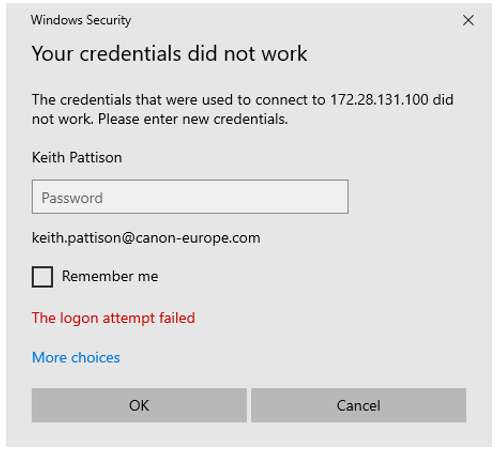
NOTE: When the pop up ‘Your credentials did not work’, select ‘More Choices’. Select ‘Use a different account’ and select ‘OK’
10. Select ‘Use a different account’ and select ‘OK’
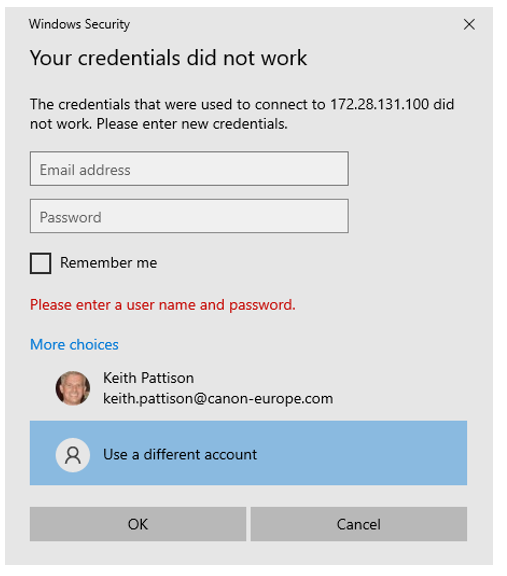
11. Enter your credential in the following format ‘canonintra\keith.pattison’ and your Canon Password and select ‘OK’
Connect to a remote session with multi-screen.
You can use a multi-screen setup if available. Having a second or even a third screen will make using the VC easier for both trainers and students alike.
1. Switch to the Display tab in the “Remote Desktop Connection” manager.
2. Ensure the slider is fully across too “Large”.
NOTE: Ensure that “Full Screen” is shown.
3. Enable all monitors using the tick box.
NOTE: The “Display connection bar” checkbox can be used to enable the top screen tab for the session. It can be useful to disable it in some cases.
Access your training Computer or Network
You will now start another RDP session from within the jump-host. This will give you access to the secure prebuilt computer or training lab for your course.
1. From the start menu type MSTSC to access the remote desktop connection.
2. Enter the IP supplied by your trainer on the day of the course followed by your student access port. Access ports are shown in the table below.
Example :172.28.137.4:3401 - Student 1
Note: The above example only applies to room 1, if another room is used the ports will differ!
|
Room1 172.28.137.4: |
Room2 172.28.137.12: |
||
|
Student |
1 |
3401 |
3801 |
|
Student |
2 |
3402 |
3802 |
|
Student |
3 |
3403 |
3803 |
|
Student |
4 |
3404 |
3804 |
|
Student |
5 |
3405 |
3805 |
|
Student |
6 |
3406 |
3806 |
|
Student |
7 |
3407 |
3807 |
|
Student |
8 |
3408 |
3808 |
|
Trainer |
9 |
3409 |
3809 |
3. Enter your Canon credentials in the format canon\*username*
4. Once you access the classroom landing computer you will have two choices depending on the course you are attending. Either you will work directly in the landing machine or if the training has multiple computers then you will use the RDP manager included on the landing machine.
RDP Manager (MRemoteNG)
In courses with multiple machines, you will use MRemoteNG to access all the machines. Your trainer will give you details of how to use the interface during the course.
1. Open MRemote using the desktop icon or from the start menu or taskbar.
2. In the connections pane you will see all the computers for your training.
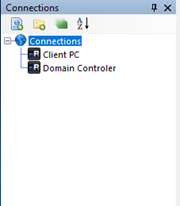
3. Simply select them to see the connection panel or double click to start the RDP connection.

4. You can use the tabs at the top to switch between machines.
Example network settings.
Each machine has a network connection to a virtual switch / router. During this training the network you will be working with, will have no Internet access at some points. By the end of the training you will be able to explain why internet access is intermittent. All local connections will be in Class C address ranges. Your instructor will cover more about IP addresses and ranges later.
For assistance during this module use web search engines to find information. With all IT training the answers are available somewhere on the web. You can find so much advice and help in many formats. The only important thing to remember is how trustworthy the source information is.
